



















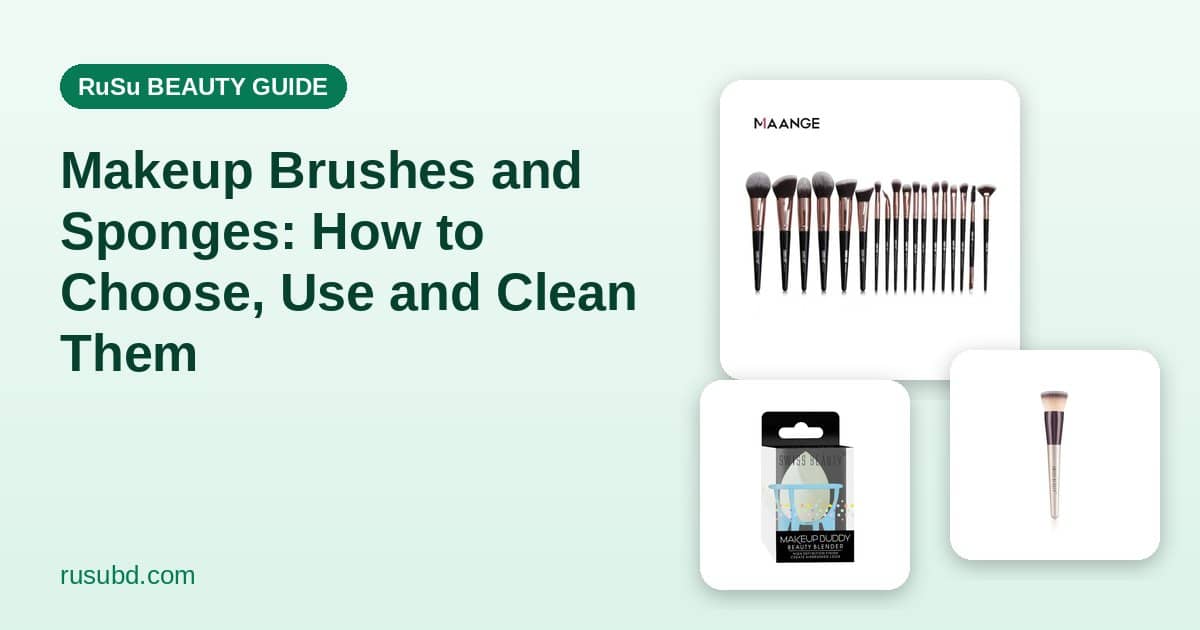
Good makeup tools make application faster, smoother and more even — and they help your products go further. But dirty tools collect oil, dead skin and bacteria, which can lead to breakouts and even eye infections. Here is how to choose the tools you actually need, use them well and keep them clean.
The Essential Brushes (You Don't Need 30)
A full set is nice to have, but most everyday looks need only a handful:
- Foundation brush — a flat or dense brush for liquid and cream foundation. A dense, rounded "buffing" brush like the Swiss Beauty Foundation Blender Brush blends without streaks.
- Concealer brush — small and tapered for under the eyes and spots, such as the Technic Concealer Brush.
- Powder brush — large and fluffy for setting powder. Try the Swiss Beauty Powder Brush.
- Blush or contour brush — angled to follow the cheekbones, like the Swiss Beauty Angled Blusher Brush.
- Eyeshadow brushes — one flat brush to pack colour on the lid and one fluffy brush to blend.
If you'd rather start with everything at once, a set such as the Maange 18-Piece Makeup Brush Set covers face and eyes. Browse all makeup tools.
Synthetic or Natural Bristles?
- Synthetic bristles don't absorb much product, so they are ideal for liquids and creams. They are easier to clean, dry faster and are cruelty-free. Most modern brushes are synthetic.
- Natural hair bristles are traditionally used for powders. They are softer for some, but harder to clean and more expensive.
For most people, a good synthetic set does everything well.
How to Use a Makeup Sponge
- Wet it with clean water until it expands, then squeeze out the excess — it should be damp, not dripping.
- Dot foundation on your face or the back of your hand.
- Bounce, don't drag. Gently tap the sponge over the skin to press product in for a natural, skin-like finish.
- Use the pointed tip for under the eyes and around the nose.
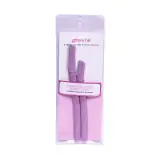
Popular options include the Swiss Beauty Makeup Buddy Beauty Blender and the Groome Makeup Blender Sponge. For pressing powder under the eyes, a small finger puff like the LMLTOP Finger Puff is handy.
How Often Should You Clean Your Tools?
- Sponges: after every use, or at least every few uses — they stay damp and can grow bacteria quickly.
- Foundation and concealer brushes: about once a week.
- Powder, blush and eyeshadow brushes: every one to two weeks.
Clean more often if you have acne-prone skin, or straight away if you have had an eye or skin infection.
How to Clean Brushes and Sponges
- Wet the bristles with lukewarm water, pointing the brush downwards.
- Add a little gentle cleanser — a mild shampoo or a gentle face wash works well.
- Swirl gently in your palm until the water runs clear. For sponges, squeeze repeatedly under running water.
- Avoid soaking the handle. Water inside the metal part (the ferrule) loosens the glue and makes bristles fall out.
- Squeeze out excess water, reshape the bristles and dry flat or pointing down — never upright, or water runs into the handle.
- Let everything dry completely before use, in a ventilated spot — damp tools in a closed bag grow mould.
When to Replace Your Tools
- Sponges: roughly every three months, or sooner if they tear, smell or stay stained.
- Brushes: when the bristles shed a lot, lose their shape, feel scratchy or the handle is loose. Well-cared-for brushes can last for years.
Hygiene Tips
- Don't share eye brushes or mascara — eye infections spread easily.
- Store brushes upright in a cup or in a breathable pouch once fully dry.
- Remove all makeup before bed with a makeup remover or micellar water.
Shop Makeup Tools at RuSu
Find brushes, sponges and puffs from Swiss Beauty, Technic and Maange at RuSu. For tips on using them, see our guide to building a flawless makeup base.
Frequently Asked Questions
Brush or sponge — which is better for foundation?
Both work. Brushes give more coverage and are quicker; damp sponges give a softer, more natural finish. Many people use a brush to apply and a sponge to blend.
Can I use dish soap to clean brushes?
A small amount can remove heavy, oily residue, but it can dry out bristles over time. A gentle shampoo is usually a better everyday choice.
Why does my sponge smell?
It is probably staying damp between uses and growing bacteria. Clean it after use, dry it fully in the open air, and replace it if the smell remains.