


Why Your Blending Tool Matters as Much as Your Foundation
Many makeup users focus intensively on finding the perfect foundation, concealer, or powder — and invest less thought in the tool used to apply it. Yet professional makeup artists unanimously agree: application technique and tools are equally important as the product itself. The same foundation can look cakey and unnatural applied with fingers, or sheer and skin-like when blended with a properly damp beauty sponge.
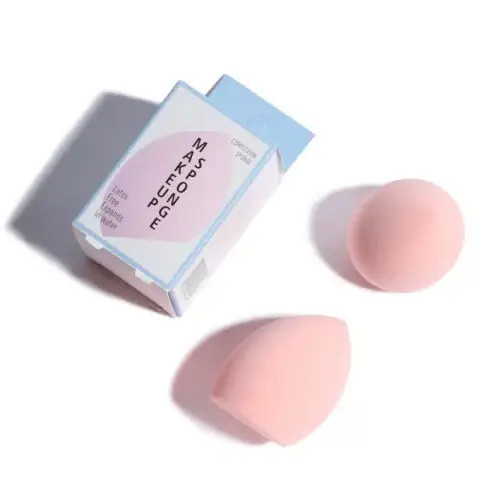
Makeup sponges represent a revolution in at-home makeup application that began when the beauty blender changed the industry in the early 2010s. Today, the range of sponge types, shapes, materials, and application techniques has expanded dramatically, giving makeup users unprecedented control over their finish and coverage. Whether you prefer a dewy, skin-like glow or a full-coverage matte finish, the right sponge technique can get you there. Check out RuSu for great picks.
Types of Makeup Sponges Explained
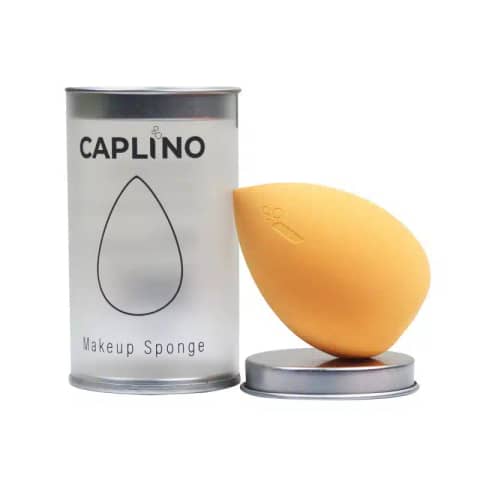
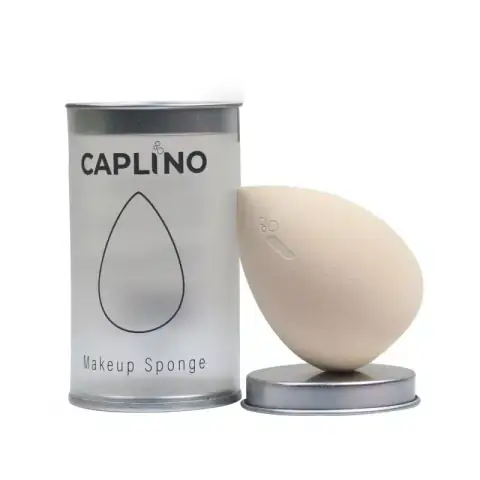
The Classic Beauty Blender (Egg Sponge)
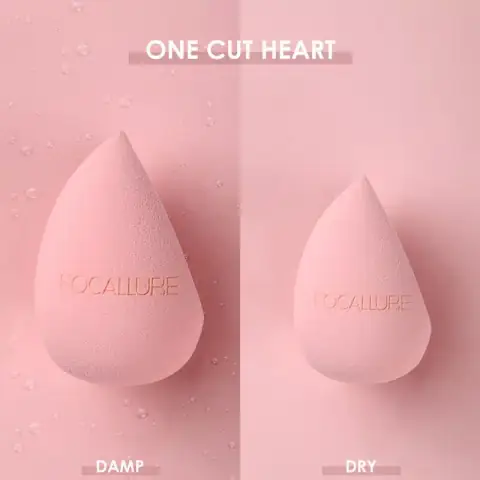
The iconic egg or teardrop-shaped sponge, pioneered by BeautyBlender, is the most popular and versatile makeup sponge on the market. Its unique shape serves dual purposes: the round bottom blends product in large areas (cheeks, forehead, chin), while the pointed tip accesses tight areas (inner corners of eyes, around the nose, and under the lower lip). Used damp (by wetting, squeezing out excess water, and bouncing — never wiping — product into the skin), it creates an airbrushed, skin-like finish with foundation, concealer, cream blush, and even powder products. See our Kajal collection.
The bouncing technique is critical: dragging or wiping the sponge streaks product and moves it around rather than blending it in. Instead, lightly tap and press the sponge repeatedly in a stippling motion, working the product into the skin. The damp sponge absorbs less product than a dry sponge or brush, resulting in a more efficient, natural-looking application. Popular with buyers: Hair Care.
Flat-Edge / Straight-Cut Sponges
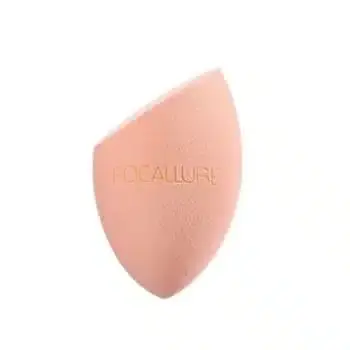
Sponges with a flat edge or straight-cut bottom are designed for applying and blending foundation more quickly across large areas. The flat surface allows for more efficient coverage and faster blending than the round end of an egg sponge. The curved sides still allow for precision work in tighter areas. These are popular for those who prefer a faster makeup routine without sacrificing the skin-like finish that only a damp sponge can provide. Find more at Hand Care.
Contour and Multi-Edge Sponges
Specialty sponges designed with multiple flat edges, contoured shapes, or cutouts serve specific contouring purposes. Their angular flat surfaces allow for precise product placement in the hollows of the cheeks, along the nose, and on the forehead for sculpting and contouring effects. Some multi-edge sponges have both a flat side for blending large areas and a pointed edge for precision work — offering all-in-one functionality. Worth exploring: Gaming Headphone.
Silicone Sponges
A newer innovation, silicone applicators are non-porous sponges made from medical-grade silicone. Unlike traditional foam sponges, they don't absorb any product — making them extremely economical, as zero product is wasted into the sponge itself. Product sits on the surface and is pressed directly onto the skin. Silicone sponges are also hygienic (bacteria cannot grow inside them) and extremely easy to clean. The main drawback is application — they require more skill and product manipulation to blend seamlessly, and beginners often find the finish less natural than foam sponge results. Customers love Lash Glue in Bangladesh.
Powder Puffs
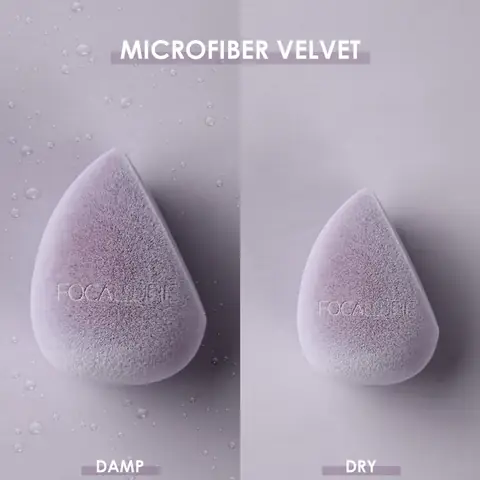
Powder puffs are soft, plush applicators specifically designed for applying loose or pressed powder. They have a flocked (velvet) or fabric surface that picks up and deposits powder evenly. Pressing (rather than swiping) a loaded powder puff sets foundation, reduces shine, and creates a smooth, poreless finish. Powder puffs are also used for applying setting powder to lock in makeup before applying setting spray for maximum longevity. A top choice: Kids & Baby.
Concealer Wedge Sponges
Small triangular wedge sponges are specialized for precise concealer application under the eyes, around the nose, and on spot corrections. Their small size allows exact product placement, and the flat edge creates crisp, clean lines. They can also be used for precise application of cream eyeshadow and baking techniques under the eyes. Don't miss Health & Beauty while shopping.
The Wet Sponge Technique: Why It's a Game-Changer
The wet sponge technique is the single most transformative tip for makeup sponge use. Here's exactly how to do it correctly: Highly rated: Router.
- Run your sponge under cold water until it's fully saturated
- Squeeze the sponge firmly and repeatedly until the excess water is removed and the sponge has expanded to about double its dry size
- The sponge should be damp throughout, not dripping — gently squeeze in a clean towel if too wet
- Apply foundation by placing a small amount on the back of your hand, then picking up product with the rounded end of the sponge
- Using a stippling/bouncing motion (never wiping or dragging), press and bounce the sponge against your skin to deposit and blend simultaneously
- Work in sections: center face, then outward; under eyes; around nose; chin and jaw
The water in the sponge dilutes the foundation slightly, creating a more sheer, skin-like coverage. The bouncing motion deposits product rather than lifting it, preventing streaking. Together these create the airbrushed finish that makes the damp beauty sponge beloved by professionals worldwide. Consider Makeup Brush for your routine.
Sponge vs. Brush vs. Fingers: When to Use Each
Damp Sponge: Best For
- Liquid and cream foundations — creates a natural, skin-like finish
- Concealer blending (especially under eyes)
- Cream blush and contour blending
- Setting powder application (dry sponge pressing technique)
- Layering coverage while keeping skin-like texture
Brush: Best For
- Full coverage, buildable application with liquid or powder foundation
- Precise contouring and sculpting
- Setting powder dusting over large areas
- Applying powder blush and bronzer
- Faster application and easier for beginners
Fingers: Best For
- Lightweight tinted moisturizers and BB creams
- Blending concealer into the skin with heat from fingers
- No-tool situations when speed matters
- Cream eyeshadow application for quick, casual looks
How Often to Clean Makeup Sponges
Makeup sponges accumulate product, dead skin cells, oil, and bacteria very quickly. In Bangladesh's warm, humid climate, bacterial growth in used sponges is especially rapid. Washing guidelines: Trending now: Lifestyle.
- Ideal: After every use (especially for liquid foundation which is most bacteria-friendly)
- Minimum: Every 3-4 uses for liquid products; weekly for powder-only use
- Method: Wet, apply a pea-sized amount of gentle soap or solid sponge cleanser, massage gently in circular motions, rinse until water runs clear
- Drying: Squeeze (don't wring) out excess water and allow to air dry completely in a well-ventilated area before storing
- Replace: Every 3-4 months or when the sponge shows visible deterioration (tears, disintegration, permanent staining)
Common Makeup Sponge Mistakes to Avoid
- Using dry: Dry sponges absorb too much product and create a cakey, uneven finish
- Wiping instead of stippling: Wiping moves product around rather than blending it in — always bounce or press
- Applying too much product at once: Build coverage in thin layers — less product, more blending passes
- Skipping washing: Dirty sponges cause breakouts, uneven application, and poor blending
- Squeezing with nails: This tears the sponge — squeeze with the whole hand gently
- Storing damp: Always allow to dry completely to prevent mold growth
Shop Makeup Sponges at RuSu
Discover our extensive range of makeup sponges and blending tools at RuSu — from classic beauty blenders and egg sponges to silicone applicators, powder puffs, contour sponges, and blending brush sets. Find the perfect tool for your makeup style and technique, available for fast delivery across Dhaka and Bangladesh. Browse Lip Care for more options.
Choosing Between a Sponge and a Brush for Different Products
The choice between sponge and brush depends significantly on the specific product and desired result. For liquid foundation: a damp sponge gives the most natural, skin-like, sheer-to-medium result; a stippling brush (dual-fiber) also gives a natural finish; a flat foundation brush provides more coverage and precision. For powder products: fluffy powder brushes distribute powder most evenly and naturally; pressed powder puffs provide more intense powder deposit for oil control; sponges can be used for pressed powder application with a "baking" technique. For concealer: sponge is superior for blending seamlessly; a dense brush works for full-coverage color correction. For blush: fluffy brush is most natural; a stippling brush gives an airbrushed diffused blush look; sponge works but is less intuitive. Understanding these nuances helps you choose the right tool for each step in your routine. Explore Earbuds on our store.
Cleaning Different Types of Makeup Sponges
Not all sponges clean the same way, and using the wrong cleaning approach damages certain types. Foam beauty blenders and egg sponges: wash with gentle liquid soap under running water using the circular massage method — they can withstand this mechanical cleaning. Delicate multi-layer or velvet-textured powder puffs: hand wash very gently in lukewarm water with a small amount of mild detergent, rinse carefully, and press (don't wring) dry. Silicone sponges: the easiest to clean — rinse under water and wipe with a cloth; can also be washed with soap for deeper cleaning. All sponges should air dry completely in a well-ventilated area. Do not place in an enclosed container while damp. In Bangladesh's humidity, ensuring complete drying is especially important to prevent mold and bacterial growth. Discover Mascara for quality choices.
When Not to Use a Makeup Sponge
Despite their versatility, there are situations where a makeup sponge isn't the optimal tool. For very high-coverage application: a dense bristle brush builds coverage more efficiently and with less product waste. For precise contouring and sculpting: an angled brush provides more precision than a curved sponge. For applying loose powder over a large area quickly: a large fluffy kabuki brush covers more area per stroke. For applying product to very small, precise areas (blemish concealing, specific color correction): a flat concealer brush or synthetic brush gives more control. For dry, powdery products on delicate skin: the pressing and stippling motion required with a sponge requires more care to avoid disturbing dry or sensitive skin — a brush may be gentler. Shoppers also recommend Makeup.